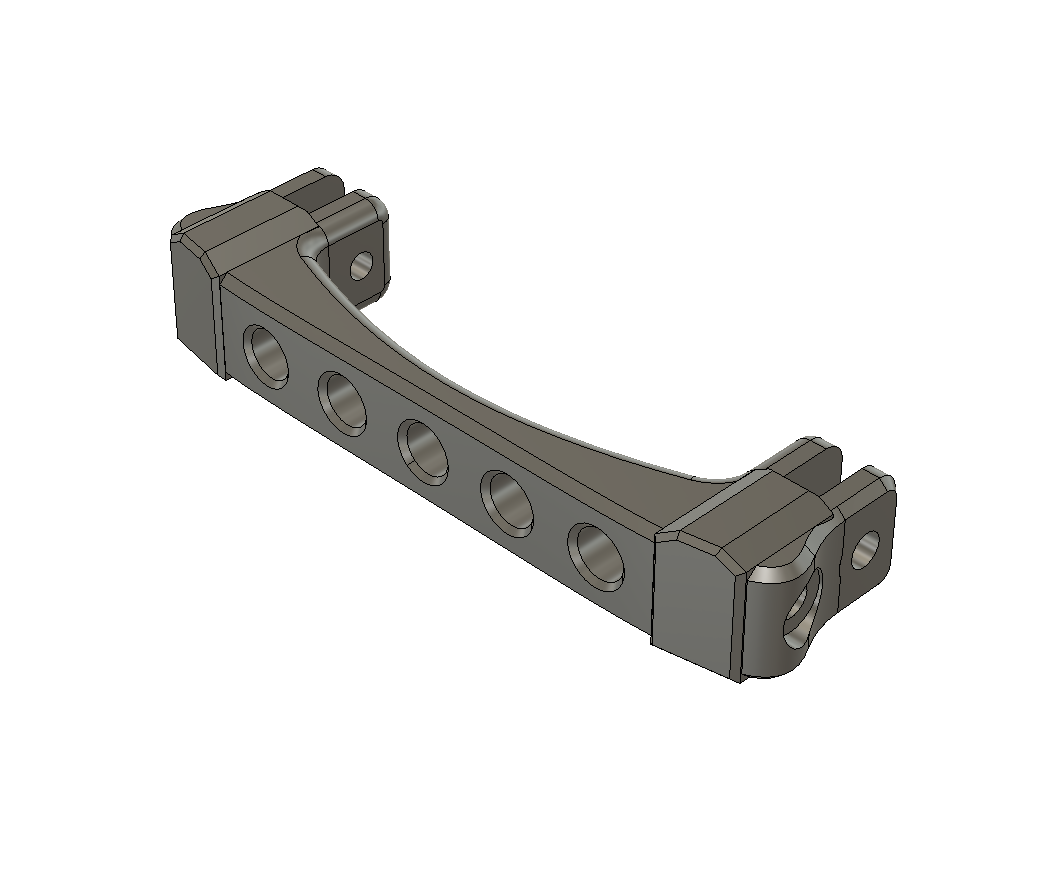
V1B "Bugger" (Individual Parts)
This listing is for replacement parts only. Please select the part you need and the color you would like it in.
Introducing the V1B "Bugger" Chassis kit which allows for a near bolt on experience when you combined the Axial UTB18 and a Tamiya Sand Scorcher/Monster Beatle Body. Finish off the build for ultimate realism with the, Spare-Time Hobbies - Tamiya Beatle interior, Mirrors and Rear Window Frame; or fabricate your own to save some coin.
The chassis is design to be virtually a direct swap for your Axial UTB18. You can run the chassis in the traditional Axle Mounted Servo (AMS), or use the provided Chassis Mounted Servo (CMS)
Fits: Axial UTB18
What you get: Aluminum Parts (RAW): Chassis, Panhard Mount (Chassis side). Plastid Parts: Skid (UTB18 Transmission), Sliders (Tamiya Hard Bug Body Specific), Front/Rear Sub Bumpers, Battery/E-Plate Front, CMS w/Axle Side Panhard (Not Required), Rear Frame Blockout, Rear Motor Bay, Mock Motor, Rear Tube Bumper, and Inner Fender Block Out. NOTE: Every order comes with the file pack whether you print them yourself or get a set from us. Enter "ICANREAD" at check out for ten percent off.
What you need: Hardware (See Instructions), Glue, Drill, Marking tool or 2mm Drill Bit (Body Mount Holes), 6mm Drill Bit or Body reamer, Tamiya Bug Body (Monster Beatle or Sand Scorcher), Additional Finishing Items for Appearance of your Bug Body, Paint, Hardware (See Hardware Pack)
Recommended: Due to the increased weight, I recommend adding Foam to the stock tires. Though they do work as is, it drives like you have 8 PSI in your tires and can flatten out with heavy articulation. Additionally, use the narrow 12mm Hex from the kit in the front and standard width in the rear. If you are using custom wheels, adjust offset as needed. Heavier Springs would do it well unless you like the Droop driving experience. The current springs let the rig settle down like it's on hydraulics. It feels nice when driving but may need some preload added or stiffer springs.
CMS Note: If you decide to use the chassis mounted servo option, you must replace the stock axle servo mount with a rear upper link bracket (Stock Not a Tall Riser). My recommendation is to purchase the aluminum Treal Rear Upper Link riser and move the stock plastic upper link mount to the front axle. Once the CMS is installed, the servo will bottom out on the Pan Link before the shocks bottom out. This is a crawler and that it ok, you will still achieve full articulation. If that bothers you, please add about 6mm of nitro fuel line to the front shock shaft to prevent it from hitting. Or internally limit the shock under the piston to shorten the shaft stroke and use the bottom most row of shock-mounting holes.
Maximum Tire Size Without Trimming the Body: 1.9 Wheel and 3.85in (98mm) Tire
In the Photo: Tires, Element RC General Grabber A/T X 1.55in Tires, Wheels: 1.9 TGH H.O., Electronics: Stock
Video Build Link: In Progress
Paper Instructions Link: https://drive.google.com/file/d/1r4x7HGKE1WHh6lRiP...
Products That Pair Well with this Build: Head over to https://rcaddict.com/ to find parts.
Treal Rear Upper Link Riser
Hot Racing Aluminum Rear Axle Truss Upper Link Mount
Reefs RC Micro 99 Servo Winch
Axial Racing Aluminum Link Set
Element RC General Grabber A/T X 1.55in Tires
Team Garage Hack H.O. Wheels
Spare-Time Hobbies Micro Winch Mount
Axial UTB18 RTR
Tamiya Sand Scorcher Hard Body
Tamiya Monster Beetle Hard Body
